Installing a standing seam metal roof can dramatically improve the durability and aesthetics of any building. As a sleek and modern roofing option, standing seam roofs have grown in popularity due to their longevity and minimal maintenance requirements. This guide will provide a step-by-step process to install standing seam roofs, ensuring a seamless and efficient setup.
What is a Standing Seam Roof?
Standing seam metal roofs consist of metal panels that run vertically from the ridge of the roof to the eaves. These panels are connected by raised seams, which interlock and conceal fasteners, providing a smooth and sleek appearance. This design not only enhances the visual appeal but also offers superior weather resistance, as the seams are raised above the water level, preventing leaks.
Benefits of Standing Seam Metal Roofs
Standing seam roofs are favored for several reasons:
- Durability: Made from materials like aluminum and steel, these roofs can withstand harsh weather conditions.
- Aesthetic Appeal: The sleek lines and modern look can increase the curb appeal of any structure.
- Low Maintenance: Unlike traditional roofing materials, metal roofs require minimal upkeep.
- Energy Efficiency: Metal roofs reflect solar heat, reducing cooling costs in hot climates.
Preparation for Installation
Before you begin the installation process, proper preparation is crucial. This involves gathering the necessary tools, materials, and ensuring safety measures are in place.
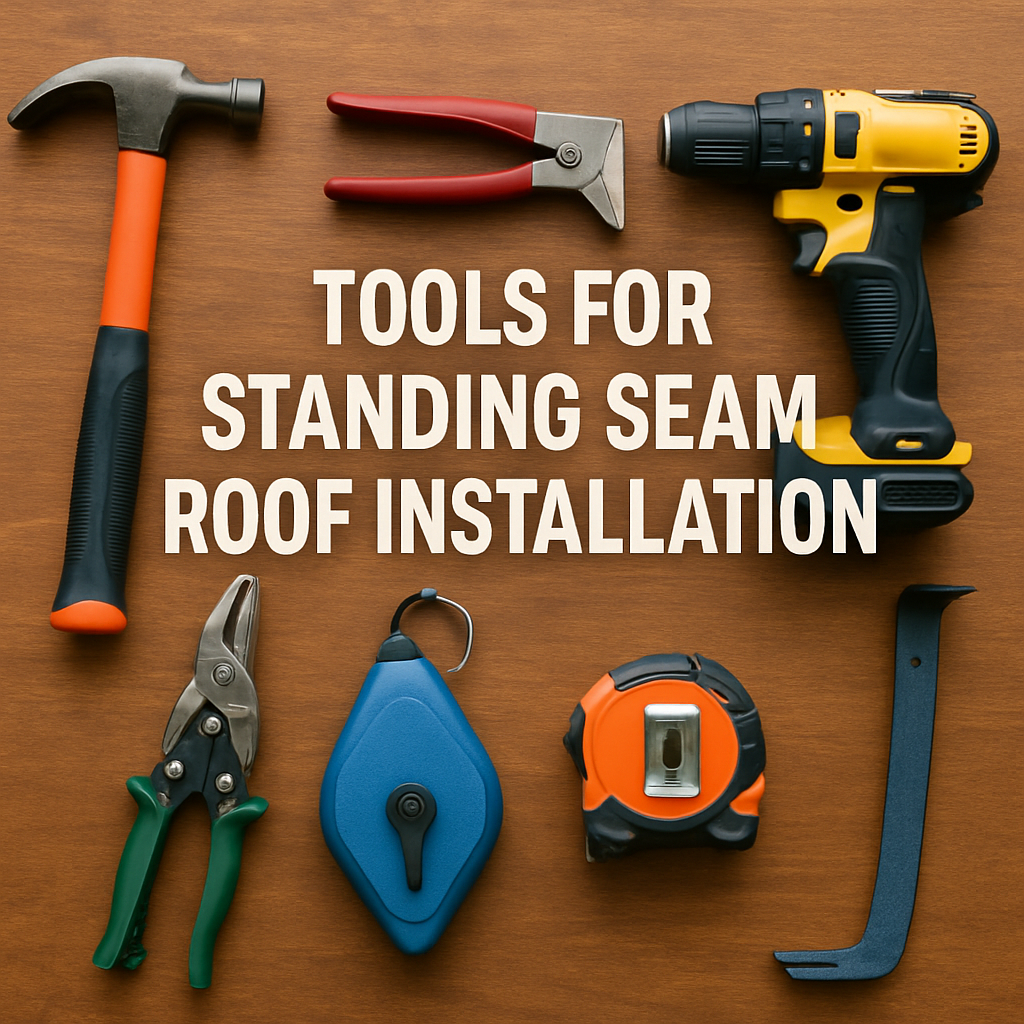
Tools and Materials Needed
- Standing seam metal roof panels (aluminum, steel, or other preferred materials)
- Metal snips or shears
- Measuring tape
- Chalk line
- Drill and fasteners
- Safety harness and gloves
- Sealant or butyl tape for waterproofing
Safety Considerations
Roof installation can be dangerous, so prioritize safety by:
- Using a safety harness when working at heights.
- Wearing non-slip shoes and gloves.
- Ensuring ladders and scaffolding are secure.
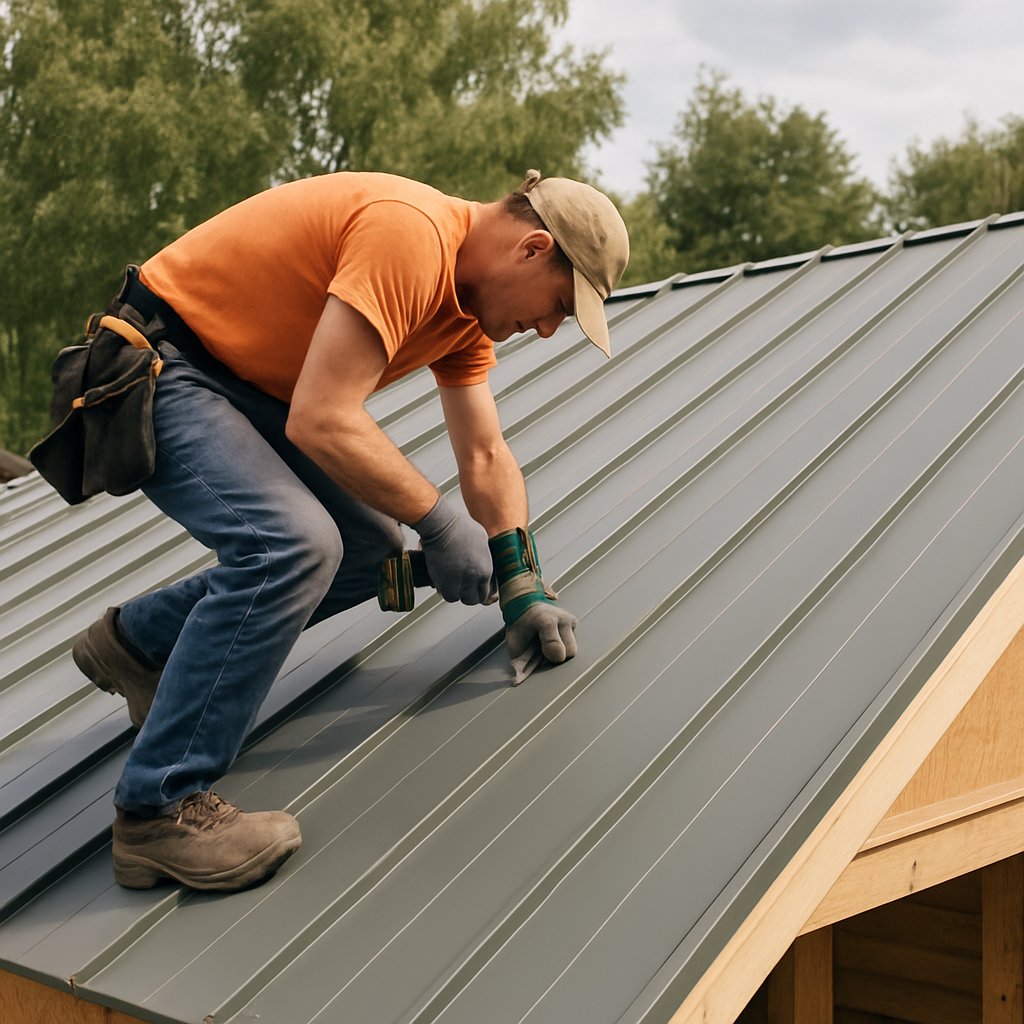
Step-by-Step Installation Process
Follow these steps to install a standing seam roof effectively.
Step 1: Measure and Prepare the Roof
Start by measuring the roof to determine the number of panels needed. Ensure the roof deck is clean and free of debris. Use a chalk line to mark where each panel will be placed to guide the installation process.
Step 2: Install the Underlayment
Lay a moisture barrier or roofing underlayment across the roof deck. This layer provides additional protection against leaks and helps with insulation. Overlap the edges of the underlayment to ensure complete coverage.
Step 3: Install the Starter Clips
Attach starter clips along the eaves to secure the first panel in place. These clips are crucial for holding the panels and ensuring they remain aligned.
Step 4: Place the First Panel
Begin placing the first metal panel at the edge of the roof. Align it with the chalk line and ensure it fits snugly against the starter clips. Secure the panel with fasteners at the designated locations, avoiding over-tightening to allow for thermal expansion.
Step 5: Interlock Subsequent Panels
Continue installing the remaining panels by interlocking them with the preceding ones. The raised seams will naturally connect, providing a continuous metal surface. Ensure each panel is properly aligned and fastened securely.

by Jazmin Herrera (https://unsplash.com/@jazminsh)
Step 6: Seal the Seams
Apply a waterproof sealant or butyl tape along the seams to prevent water infiltration. This step is vital for maintaining the roof’s integrity and ensuring long-term durability.
Step 7: Install Ridge Caps and Trim
Finish the installation by adding ridge caps and trim pieces. These components cover the roof’s edges and provide a polished look while preventing water ingress.
Tips for a Successful Installation
- Check Local Building Codes: Ensure compliance with local regulations and obtain necessary permits before beginning the installation.
- Work with a Partner: Having an extra set of hands can make handling large panels easier and safer.
- Double-Check Measurements: Accurate measurements are crucial to avoid unnecessary material waste and ensure a proper fit.
Common Mistakes to Avoid
Avoid these common pitfalls to ensure a successful installation:
- Skipping Safety Measures: Always prioritize safety, even if it slows down the process.
- Improper Panel Alignment: Misaligned panels can lead to leaks and aesthetic issues.
- Overlooking Seam Sealing: Failing to seal seams properly can compromise the roof’s waterproofing.
Choosing the Right Material
When selecting materials, consider factors such as climate, budget, and aesthetic preferences. Aluminum and steel are popular choices due to their durability and resistance to corrosion. Additionally, consider the finish and color options available to match your building’s style.
Standing Seam Metal Roof Suppliers
Research reputable suppliers to ensure you receive high-quality materials. Look for suppliers with positive reviews and a track record of reliability.
Conclusion
Installing a standing seam roof requires careful planning and execution. By following this guide and taking necessary precautions, you can achieve a durable and attractive roofing solution that enhances your building’s longevity and curb appeal. Whether you’re a DIY enthusiast or hiring a professional, understanding the installation process will ensure you get the most out of your investment.